5 minute readCreated on May 5, 2019Last modified on March 9, 2020Creating your own custom theme for Snowboard or Anemone
Contents
- Getting Started
- Theme Configuration
- Creating Icons
- Exporting Icons
- Icon Masks
- Packaging
- Building the DEB
Getting Started
Note: Without the proper folder structure, your theme may not show up!
- Create a new folder called
themeName.theme (Replace themeName with your desired theme name) - Within
themeName.theme folder, create another folder called IconBundles (You cannot change this name)
Theme Configuration
- Now, inside the
themeName.theme folder, create a file called Info.plist and paste the following
<?xml version="1.0" encoding="UTF-8"?>
<!DOCTYPE plist PUBLIC "-//Apple//DTD PLIST 1.0//EN" "http://www.apple.com/DTDs/PropertyList-1.0.dtd">
  <plist version="1.0">
  <dict>
    <key>PackageName</key>
    <string>ThemeName</string>
    <key>ThemeType</key>
    <string>Icons</string>
  </dict>
</plist>
- Replace
PackageName with the name of the Pacakge and replace ThemeName with the Theme Name
Now, you might ask what is the difference between PackageName and ThemeName?
Well, if for example you want to publish two variants of your icons, one dark and one white but you do not want the user to seperately install them. Then, you would name the package MyTheme and include two themes Blackie and White thus creating two entries. More about this in the end
Creating Icons
- Open up the Image Editor of your choice and create a new file having a resolution of 512x512
Note: Due to IconBundles, we just need to create the icons in one size and they get resized automaticaly :ghost:
Want to create rounded icons? Create them squared only, we will learn how to apply masks!
Exporting Icons
Note: All icons must be saved as *.png (Tip: This means you can even create partially transparent icons!)
- All Icons must be saved in
themeName.theme>IconBundles as bundleID-large.png
Finding BundleIDs
Stock Application BundleIDs
| Name | BundleID |
|---|
| App Store | com.apple.AppStore |
| Apple Watch | com.apple.Bridge |
| Calculator | com.apple.calculator |
| Calendar | com.apple.mobilecal |
| Camera | com.apple.camera |
| Classroom | com.apple.classroom |
| Clock | com.apple.mobiletimer |
| Compass | com.apple.compass |
| FaceTime | com.apple.facetime |
| Files | com.apple.DocumentsApp |
| Game Center | com.apple.gamecenter |
| Health | com.apple.Health |
| Home | com.apple.Home |
| iBooks | com.apple.iBooks |
| iTunes Store | com.apple.MobileStore |
| Mail | com.apple.mobilemail |
| Maps | com.apple.Maps |
| Measure | com.apple.measure |
| Messages | com.apple.MobileSMS |
| Music | com.apple.Music |
| News | com.apple.news |
| Notes | com.apple.mobilenotes |
| Phone | com.apple.mobilephone |
| Photo Booth | com.apple.Photo-Booth |
| Photos | com.apple.mobileslideshow |
| Playgrounds | come.apple.Playgrounds |
| Podcasts | com.apple.podcasts |
| Reminders | com.apple.reminders |
| Safari | com.apple.mobilesafari |
| Settings | com.apple.Preferences |
| Stocks | com.apple.stocks |
| Tips | com.apple.tips |
| TV | com.apple.tv |
| Videos | com.apple.videos |
| Voice Memos | com.apple.VoiceMemos |
| Wallet | com.apple.Passbook |
| Weather | com.apple.weather |
3rd Party Applications BundleID Click here
Icon Masks
- Getting the Classic Rounded Rectangle Masks
In your Info.plist file add the following value between <dict> and
```
IB-MaskIcons
```
* Custom Icon Masks
**NOTE: This is an optional step, if you do not want Icon Masks, skip this step**
* Inside your `themeName.theme` folder, create another folder called 'Bundles'
* Inside `Bundles` create another folder called `com.apple.mobileicons.framework`
#### Designing Masks
**Masking does not support IconBundles, therefore you need to save the masks for each of the following**
| File | Resolution |
|------|------------|
| AppIconMask@2x~ipad.png | 152x512 |
| AppIconMask@2x~iphone.png | 120x120 |
| AppIconMask@3x~ipad.png | 180x180 |
| AppIconMask@3x~iphone.png | 180x180 |
| AppIconMask~ipad.png | 76x76 |
| DocumentBadgeMask-20@2x.png | 40x40 |
| DocumentBadgeMask-145@2x.png | 145x145 |
| GameAppIconMask@2x.png | 84x84 |
| NotificationAppIconMask@2x.png | 40x40 |
| NotificationAppIconMask@3x.png | 60x60 |
| SpotlightAppIconMask@2x.png | 80x80 |
| SpotlightAppIconMask@3x.png | 120x120 |
| TableIconMask@2x.png | 58x58 |
| TableIconOutline@2x.png | 58x58 |
* While creating the mask, make sure that the background is not a solid colour and is transparent
* Whichever area you want to make visible, it should be coloured in black
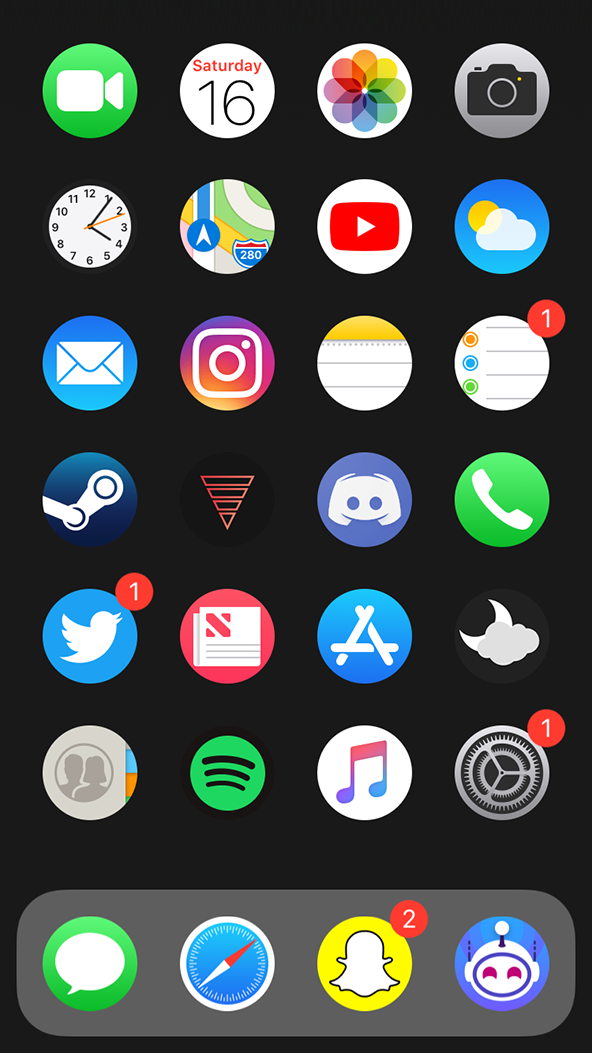
Example (Credits: Pinpal):
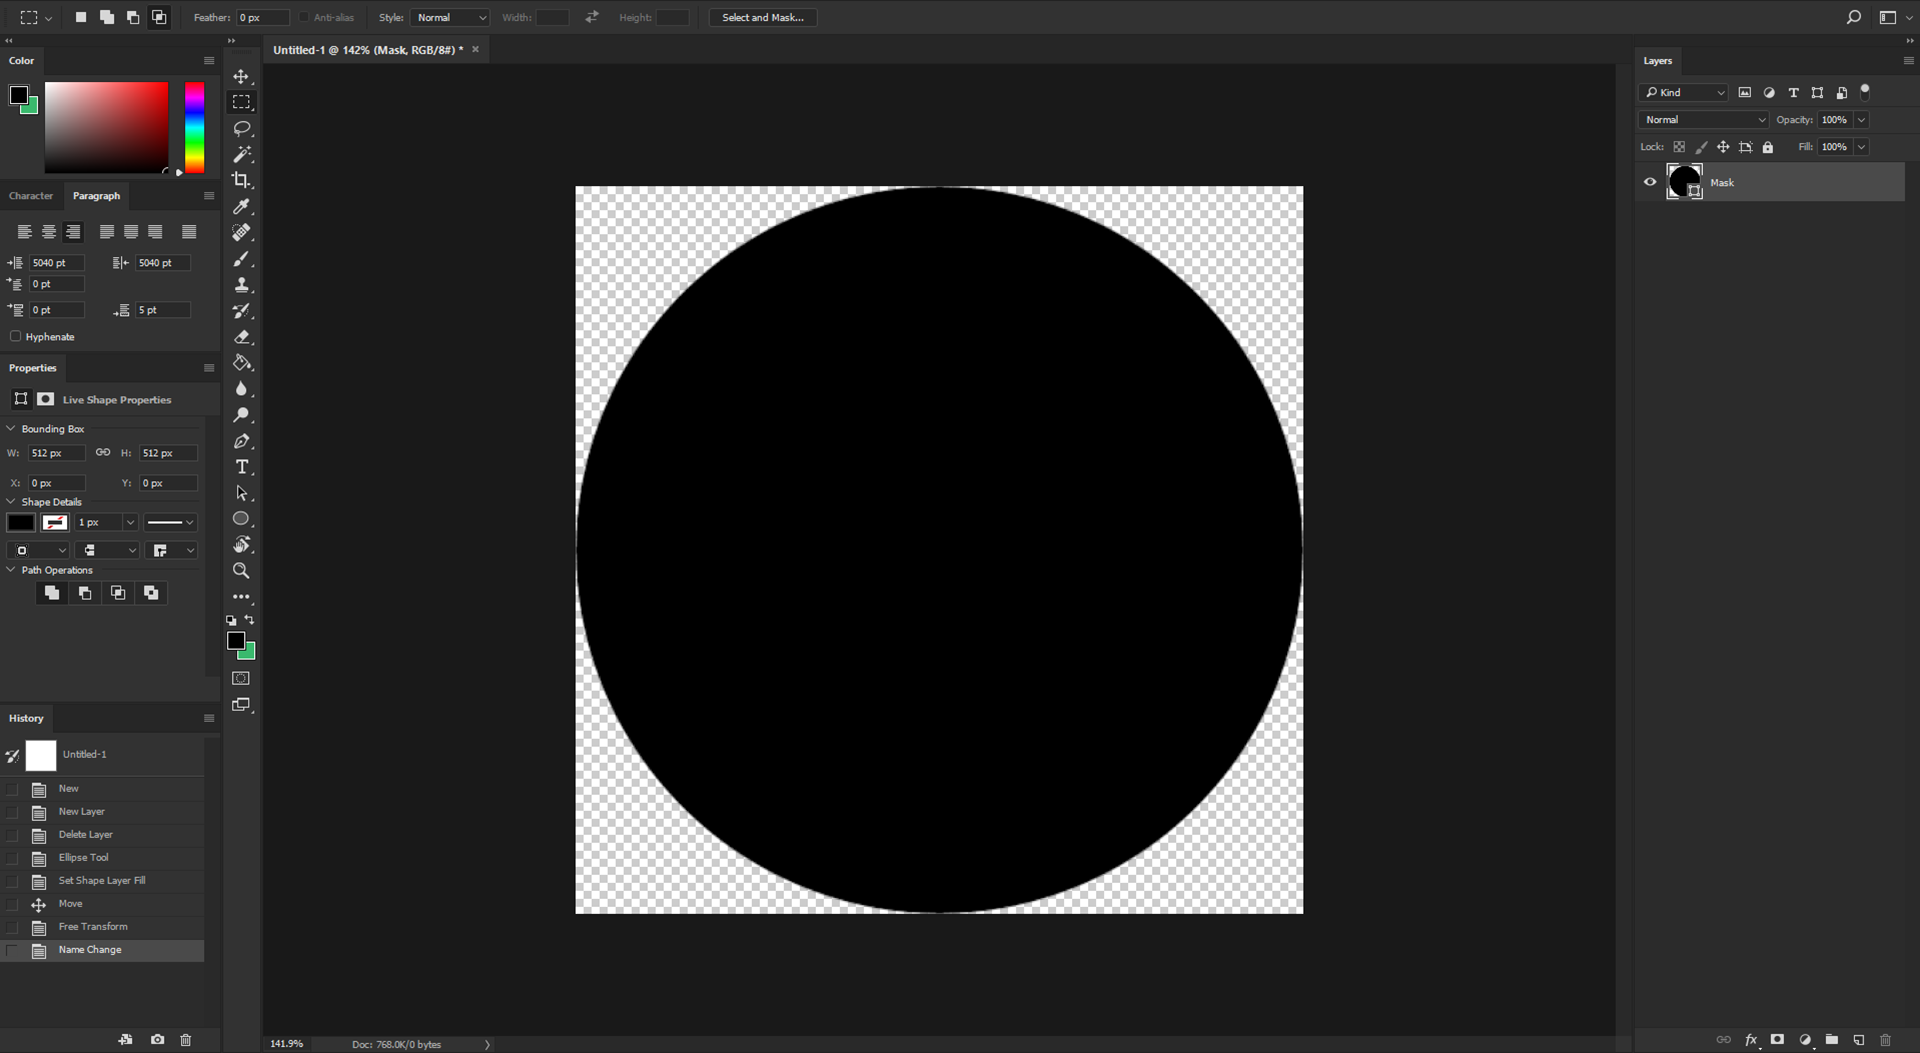
would result in
### Packaging
* Create a new folder outside `themeName.theme` with the name you want to be shown on Cydia, e.g `themeNameForCydia`
* Create another folder called `DEBIAN` in `themeNameForCydia` (It needs to be uppercase)
* In `DEBIAN` create an extensionless file called `control` and edit it using your favourite text editor
Paste the following in it, replacing `yourname`, `themename`, `Theme Name`, `A theme with beautiful icons!` and `Your Name` with your details:
```
Package: com.yourname.themename
Name: Theme Name
Version: 1.0
Architecture: iphoneos-arm
Description: A theme with beautiful icons!
Author: Your Name
Maintainer: Your Name
Section: Themes
```
* Important Notes:
* The package field **MUST** be lower case!
* The version field **MUST** be changed everytime you update your theme!
* The control file **MUST** have an extra blank line at the bottom!
* Now, Create another folder called `Library` in `themeNameForCydia`
* In `Library` create another folder called `Themes`
* Finally, copy `themeName.theme` to the `Themes` folder (**Copy the entire folder, not just the contents**)
### Building the DEB
**For building the deb you need a `*nix` system, otherwise you can build it using your iPhones**
##### Pre-Requisite for MacOS users
1) Install Homenbrew `/usr/bin/ruby -e "$(curl -fsSL https://raw.githubusercontent.com/Homebrew/install/master/install)"` (Run this in the terminal)
2) Install dpkg, by running `brew install dpkg`
**There is a terrible thing called .DS_Store which if not removed, will cause a problem durin either build or installation**
* To remove this we first need to open the folder in the terminal
* Launch the Terminal and then drag-and-drop the 'themeNameForCydia' folder on the Terminal icon in the dock
* Now, run `find . -name "*.DS_Store" -type f -delete`
##### Pre-Requisite for Windows Users
* SSH into your iPhone and drag and drop the `themeNameForCyia` folder on the terminal
##### Common Instructions
* You should be at the root of the folder in the terminal, i.e Inside `themeNameForCydia`
* running `ls` should show the following output
```
DEBIAN Library
```
* Now, in the terminal enter the following `cd .. && dpkg -b themeNameForCydia `
**Now you will have the `themeNameForCydia.deb` in the same directory**
You can share this with your friends :+1: